
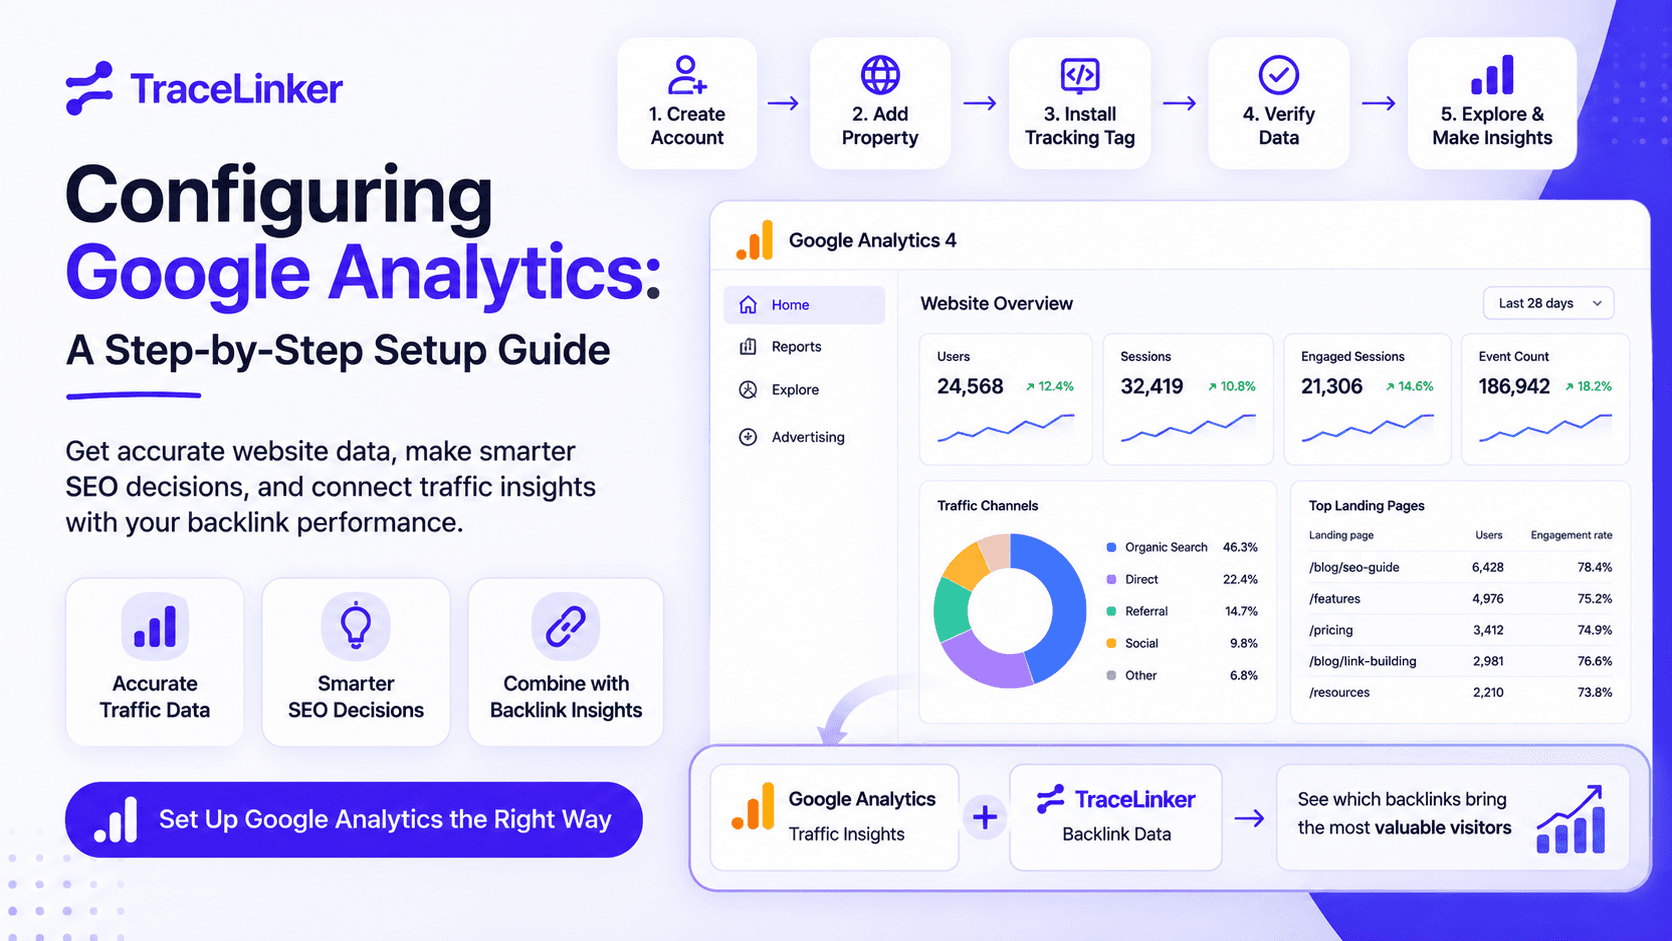


Configuring Google Analytics: A Step-by-Step Setup Guide for 2026
Google Analytics 4 (GA4) is still the most widely used free platform for understanding how visitors find and use your website. But a poorly configured Analytics account can be worse than no data at all: it feeds you misleading numbers, hides your best content, and leads to decisions that hurt growth.
This guide walks you through configuring Google Analytics the right way, from creating your first account to verifying that real data is flowing. We will also show how to combine GA traffic insights with your backlink data so you can see which referring sites send the most valuable visitors.
What you will learn
By the end of this guide, you will be able to:
- Create a Google Analytics 4 account and property.
- Add a web data stream and install the Google tag.
- Configure filters, user permissions, and cross-domain tracking.
- Set up conversions (key events) that match your business goals.
- Verify that data is flowing using the Real-Time report.
- Connect Google Search Console to Analytics for richer SEO data.
What is Google Analytics 4?
Google Analytics 4 is the latest version of Google’s analytics platform. Unlike the old Universal Analytics, GA4 is built around events rather than pageviews. Every interaction — a page view, a scroll, a click, a download, a purchase — is recorded as an event.
GA4 also uses machine learning to fill in gaps when cookies are blocked, and it is designed to work across websites and mobile apps. For most site owners, the standard (free) version is more than enough.
Step 1: Create a Google Analytics account and property
- Go to https://analytics.google.com and sign in with the Google account you want to use as the owner.
- Click Start measuring.
- Enter an Account name. You can use your business name. This is the top-level container for one or more properties.
- Review the data-sharing settings and choose what you are comfortable sharing with Google.
- Click Next to create your first property.
- Enter a Property name, such as "Your Business Website".
- Select your reporting time zone and currency. Avoid changing the time zone more than once per day on an active property.
- Choose your industry category and business size.
- Select your business objectives. Google uses this to tailor the default report collections, so pick the option closest to your actual goals.
- Accept the Terms of Service and click Create.
You now have an Analytics account and a property. The next step is adding a data stream so GA4 knows where to collect data from.
Step 2: Add a web data stream and get your Measurement ID
- In the Admin section, under Data collection and modification, click Data streams.
- Click Add stream and choose Web.
- Enter your website URL (for example,
tracelinker.com) and a stream name. - Leave Enhanced measurement enabled for now. It automatically tracks page views, scrolls, outbound clicks, site search, and more.
- Click Create stream.
After the stream is created, you will see your Measurement ID, which looks like G-XXXXXXXXXX. You will need this ID to install the tag.
You can also click View tag instructions to copy the full Google tag snippet, which looks like this:
<!-- Google tag (gtag.js) -->
<script async src="https://www.googletagmanager.com/gtag/js?id=G-XXXXXXXXXX"></script>
<script>
  window.dataLayer = window.dataLayer || [];
  function gtag(){dataLayer.push(arguments);}
  gtag('js', new Date());
  gtag('config', 'G-XXXXXXXXXX');
</script>
Step 3: Install the Google tag on your website
There are four main ways to install the tag. Choose one method only — using more than one will double-track your visitors.
Option A: Add the code directly to your HTML
If you have access to your website’s theme files, paste the Google tag snippet immediately after the opening <head> tag on every page. On most modern websites, this means adding it to the site-wide header template.
Option B: Use your CMS or website builder
Most popular platforms have a built-in field for the Google tag or Measurement ID:
- WordPress: Use a plugin like Site Kit by Google or WPCode, or paste the ID into your theme’s Google Analytics field if it has one.
- Shopify: Add the Measurement ID in the Preferences > Google Analytics section.
- Wix: Connect GA4 under Marketing & SEO > Marketing Integrations.
- Squarespace: Paste the Measurement ID in Settings > Analytics.
- Webflow: Add the script to the project-wide custom code section.
Option C: Use Google Tag Manager
If you are already managing multiple tags, Google Tag Manager is the cleanest approach:
- Create a container at https://tagmanager.google.com.
- Add the Google Tag to your container and enter your Measurement ID.
- Trigger the tag on All Pages or Initialization.
- Publish the container.
Google Tag Manager is especially useful when you want to add custom events such as button clicks, form submissions, or video engagement without editing code.
Option D: Use a plugin for WordPress
For WordPress sites, plugins like Site Kit by Google or MonsterInsights can connect your site to GA4 with a few clicks. They also display some reports inside WordPress, which can be convenient for non-technical users.
After installation, wait 15 to 30 minutes before checking for data.
Step 4: Configure essential settings
A basic GA4 setup is useful, but a few extra configurations make your data much more reliable.
Filter internal traffic
Your own visits can skew the data. GA4 lets you define internal traffic by IP address and then filter it out:
- Go to Admin > Data streams and select your web stream.
- Under Google tag > Configure tag settings, click Show all.
- Go to Define internal traffic and add your office or home IP addresses.
- Create a data filter in Admin > Data filters and set it to Exclude internal traffic.
Set up user permissions
In Admin > Property > Property Access Management, invite team members and assign roles:
- Administrator: Full control.
- Editor: Can edit settings but cannot manage users.
- Analyst: Can create reports and audiences.
- Viewer: Can read reports only.
Give people the minimum access they need. Too many administrators increase the risk of accidental changes.
Configure cross-domain tracking
If your users move between multiple domains (for example, yoursite.com and checkout.yoursite.com), set up cross-domain tracking so the same visitor is counted as one session. In Admin > Data streams > More tagging settings, add the domains you want to link.
Set data retention
By default, GA4 retains event-level data for 2 months. If you want to build custom reports or audiences, change the retention period to 14 months under Admin > Data settings > Data retention.
Step 5: Set up conversions (key events)
In GA4, conversions are called key events. You can mark existing events as conversions or create custom events for actions that matter to your business.
Common conversions to track:
- Form submissions
- Newsletter signups
- Free trial registrations
- Purchases
- File downloads
- Contact page visits
To mark an event as a conversion:
- Go to Admin > Events.
- Find the event you want to track (for example,
generate_lead). - Toggle Mark as key event.
If GA4 is not already capturing the event, you can create it with Google Tag Manager or by adding custom event code to your site.
Make sure your conversions align with actual business outcomes. Tracking every button click as a conversion will dilute your reports and make optimization harder.
Step 6: Verify that data is flowing
The fastest way to confirm the setup is working is the Real-Time report:
- Open your website in a new browser tab or incognito window.
- In GA4, go to Reports > Realtime.
- You should see at least one active user in the "Users in last 30 minutes" section.
If you do not see data after 30 minutes, check the following:
- Did you install the tag on the correct property?
- Is the Measurement ID correct?
- Is a caching plugin or ad blocker blocking the script?
- Is the tag placed in the
<head>or near the top of the page? - Are you viewing the Real-Time report for the right property?
Full reports can take 24 to 48 hours to populate, but Real-Time should show activity almost immediately.
Step 7: Connect Google Search Console
Google Analytics and Google Search Console are more powerful together. The Search Console integration brings organic search queries, landing pages, and impressions directly into your GA4 reports.
To connect them:
- In Admin > Product Links, click Search Console links.
- Select your Search Console property and the GA4 data stream you want to link.
- Save the link.
Once linked, the Search Console report collection appears in GA4, showing which queries and pages drive organic traffic.
For a deeper look at how Search Console fits into your SEO workflow, read our guide on Google Search Console integration.
Combining Google Analytics with backlink data
Google Analytics tells you what happens after someone reaches your site. Backlink data tells you where they came from and whether that referral is trustworthy. Together, they give you the full picture of your SEO performance.
Use these TraceLinker tools to complement your GA4 setup:
- Free Backlink Checker: See which domains link to you and whether they look healthy.
- Backlink CSV Analyzer: Upload a CSV from Ahrefs, Semrush, or Search Console and evaluate link quality, anchor text, and toxicity.
- Anchor Text Analyzer: Make sure your anchor text profile looks natural.
If you want continuous monitoring, TraceLinker’s paid plans track link status changes, alert you when links are lost or changed, and score every backlink with AI reasoning. You can start with Pro for $9/month or explore the Agency plan for white-label reports and team collaboration.
Best practices for keeping your data clean
- Keep one source of truth: Use one Analytics property per website. Do not mix staging and production data.
- Document your setup: Write down which filters, conversions, and custom events you have configured. This helps when you onboard new team members.
- Review permissions quarterly: Remove users who no longer need access.
- Respect privacy laws: If you have visitors in the EU, California, or other regulated regions, configure consent mode and make sure your privacy policy explains what you track.
- Do not set it and forget it: Schedule a monthly review of your key events, conversions, and reports to make sure the data still matches your business goals.
Common mistakes to avoid
- Installing the tag twice: Double tracking makes every metric look twice as high. Use only one installation method.
- Ignoring internal traffic: Your own team can represent a large share of visits on small sites.
- Tracking vanity metrics: Focus on conversions and engagement, not just total users.
- Forgetting mobile: Test that your tag fires correctly on mobile pages, not just desktop.
- Not linking Search Console: You are missing the most direct SEO data available for free.
Frequently asked questions
Do I need a developer to configure Google Analytics? No. If you use a CMS with a plugin, you can set up GA4 without touching code. Custom event tracking and cross-domain setups may require a developer or Google Tag Manager knowledge.
Is Google Analytics free? Yes. The standard version of Google Analytics is free and supports most websites. Google Analytics 360 is the paid enterprise version.
How long before I see data? Real-Time data usually appears within minutes. Full reports take 24 to 48 hours to populate.
Can I use Google Analytics on WordPress? Yes. Plugins like Site Kit by Google, MonsterInsights, or WPCode make it easy.
What is the difference between Google Analytics and Google Search Console? Analytics measures what happens on your site. Search Console measures your site’s presence in Google search results, including clicks, impressions, and average position. They work best together.
How does backlink data help alongside Google Analytics? Analytics shows you which sites send traffic. Backlink data shows you which sites link to you, how authoritative those links are, and whether any links are toxic. Combining both helps you focus on partnerships that drive both traffic and authority.
Final thoughts
Configuring Google Analytics correctly is one of the highest-leverage SEO tasks you can do. It gives you a reliable baseline for every optimization you try later, from content improvements to backlink campaigns.
Start with the basics: account, property, data stream, and tag. Then layer on filters, conversions, and the Search Console link. Once your tracking is solid, pair it with backlink monitoring to understand not just how much traffic you get, but how trustworthy the sources behind that traffic are.
Want to see the full picture of your SEO profile? Try TraceLinker’s free backlink checker and start tracking the links that matter.